
The last two versions of Next.js adhered to a new paradigm, the App router. This introduces a couple of important changes that impacts directly in the usual approaches used to solve common problems, one of them is internationalization.
In this post we will use next-intl as a solution for this problem.
Installation and project basic tuning
To add this to our project we will only need to install it as a dependency.
At the moment of writing this article, the internationalization support is in a beta stage and they state in next-intl web that they have only tested this on Next.js version 13.5.1 and they set this version in their package dependencies.
As far as I know, there aren’t any real breaking changes from this version to the 14 that should affect next-intl, but you’ll need to force the installation. Well this is a decision that you should take at your own risk 😉
npm install next-intl@3.0.0-beta.19 --forceTo make internationalization work properly in a Next.js 14 project there are a couple of moving parts that should be taken into account and the first time they aren’t so intuitive.
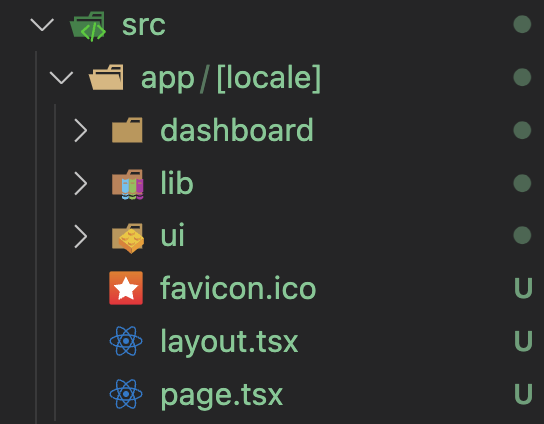
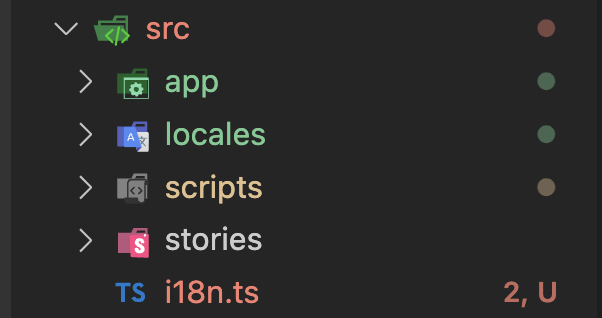
As a first step we will change our project’s folder structure.
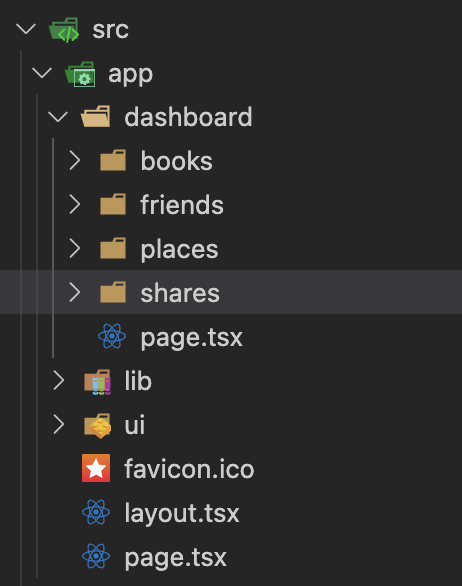
We will put all our app folder contents inside a new one called [locale]
At this moment, if you navigate to your local development using http://localhost:3000 as usual, your UI will seem broken.
If your IDE hasn’t done it yet, you should modify some of your imports to match the new paths of your files.
As you have seen now it’s expecting a new dynamic segment, so if you try to access, for example to https://localhost:3000/whatever/ you’ll be facing exactly the same ui that you were working on a moment ago.
Message files
If you are used to internationalization libraries you can skip this section, if aren’t don’t worry, there isn’t so much magic here.
Usually internationalization relies on some files or third party services that stores the proper translation for a term in a key-value fashion.
Every time that you need to show a user a string needs to be translated you rely on some methods provided by your library of choice that, at the end will look at these stores to retrieve the value related to the key that you pass them.
We’ll use the simplest approach that is to generate a couple of files, one per each language that we plan to support. In every one of this files we will store these key-value pairs. In fact, you can organize it with more levels of anidation.
One outcome of the use of Next.js server components is that we don’t need to take care of the size of this files as they will be used only in the server, having no impact in the final bundle size.
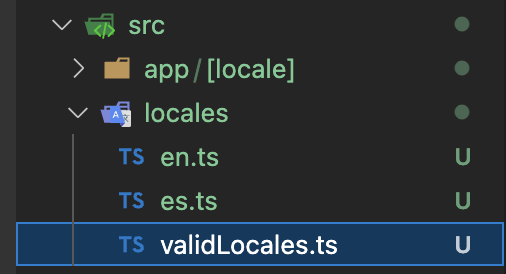
Well, you can put your translations files wherever you want in your project directory, for this example we will store the files in a new “locales” folder at the root of our “src” folder.
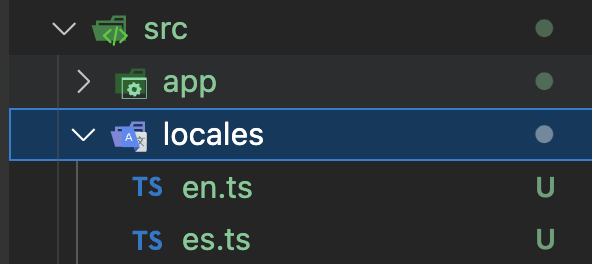
Inside this folder you should place one translations file for each of the languages that you are planning to support.
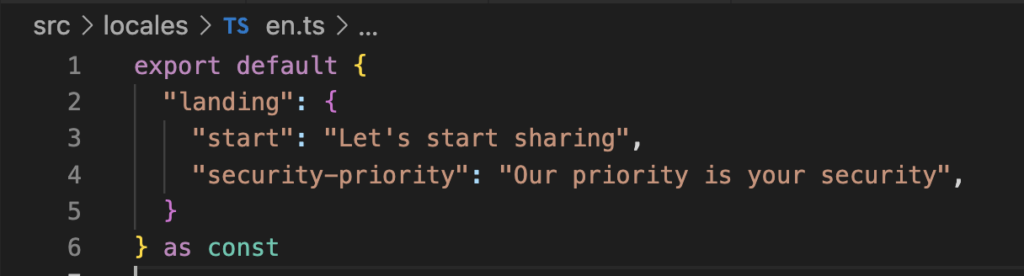
The structure of these files is quite simple.
Connecting the dots
With all these pieces in place we’ll need to add two files.
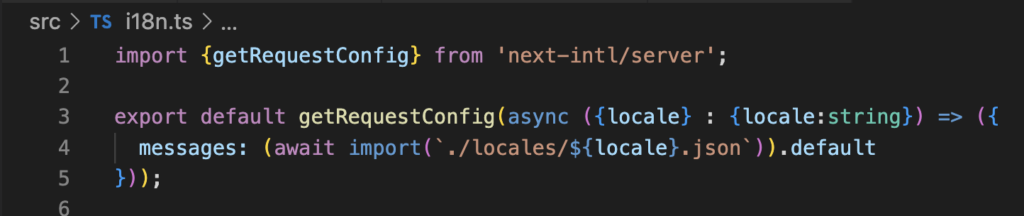
On the first hand next-intl needs to generate a configuration object once per request and this is the place where we will feed our translation files so, if you placed yours in a different place, take care of changing the path.
You must create an “i18n.ts” file in the root of your “src” folder
The contents of this file should look like this:
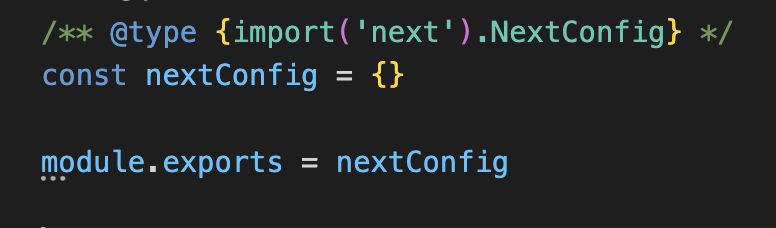
Now we need to modify next.config.js file in the root of our project. And change it from it’s default value:
To this:
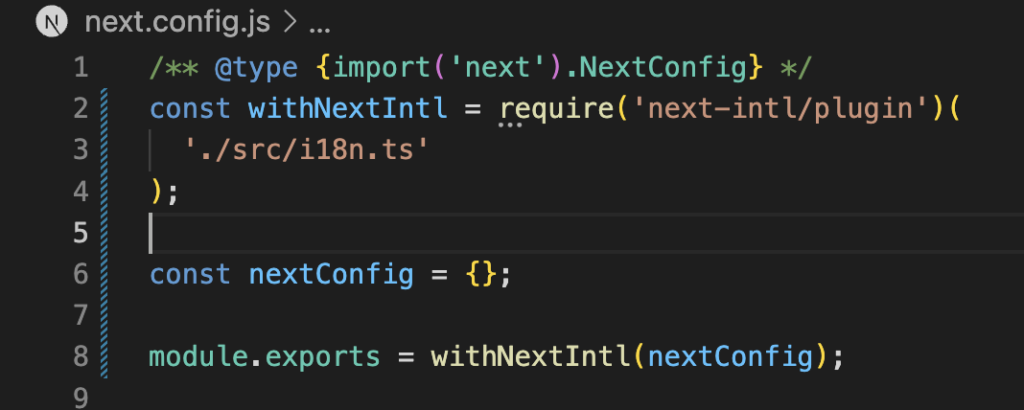
As you can see, with this approach, if you have modified this file prior, add all your configurations to the nextConfig object and they should work out of the box.
The middleware
The last step in this configuration journey ends when you put a middleware in place that will check each request and try to detect which language it should use when it comes to render texts on screen.
You can read more about this middleware in next-intl documentation, but in short there are two different strategies for accomplishing this short of language detection, one is relying on the domain name. You can just check if your domain starts with a prefix like, “us”, “es”, “de” and so on. And then apply the right translations. For example:
- en.example.com
- es.example.com
- de.example.com
We will focus on the other strategy that consists in what they call “prefix based routing”, in this case the “magic” happens in the path section of the URL, for example:
- www.example.com/en/dashboard
- www.example.com/es/dashboard
- www.example.com/de/dashboard
The middleware task is to detect that path segment and convert it in a param that will be accesible from the views. In the mid term it will also set a cookie with the last locale used.
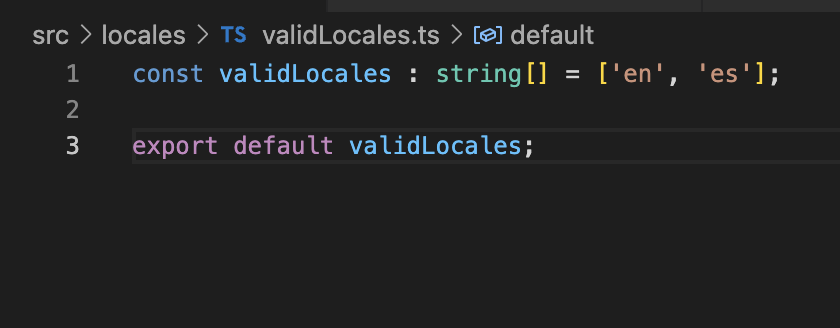
From this step onwards I will diverge a little from next-intl documentation. I will add a small change, but I believe that what they suggest is more error prone. If you take a look at their examples you’ll notice that they are constantly using a locales array in the middleware, layouts, …
Well, please, don’t do that, instead of it, create a file that exports the array of valid locales so you can access it from everywhere. Working this way you should only keep in mind updating this file if you introduce a new language in the future.
I will put this file inside the locales folder, close to the translations files:
The contents of this file are pretty simple:
To define such a middleware you need to create a middleware.ts file in your “src” folder root.
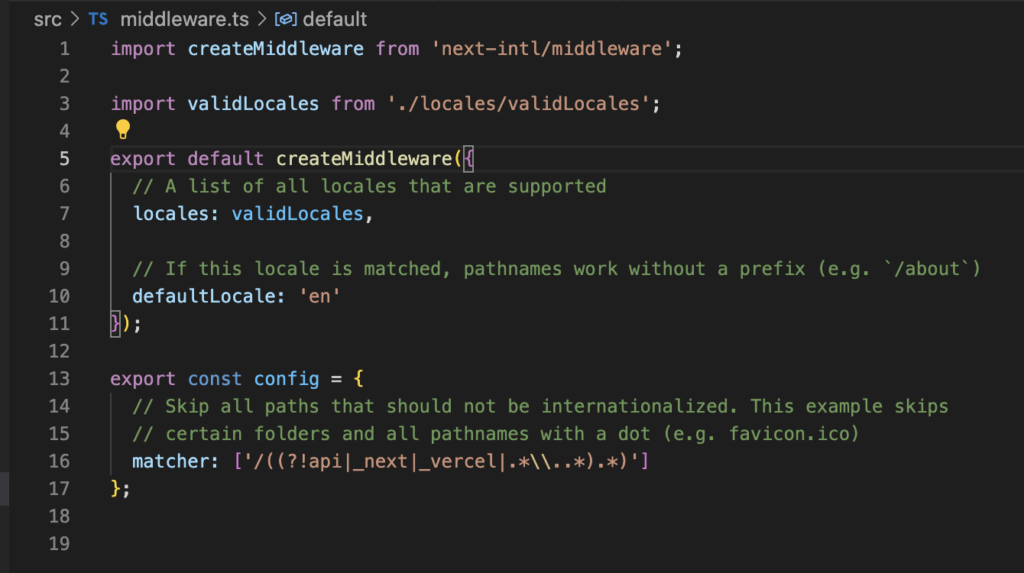
As they state in next-intl documentation, they will use this steps to finally determine which locale should be used:
- A locale prefix is present in the pathname (e.g. /de/about)
- A cookie is present that contains a previously detected locale
- The accept-language header is matched against the available locales
- The defaultLocale is used
Updating the layout file
Well at this point we have placed all the pieces needed to make it work, now let’s begin to use it.
You’ll need to update your layout file with the next code:
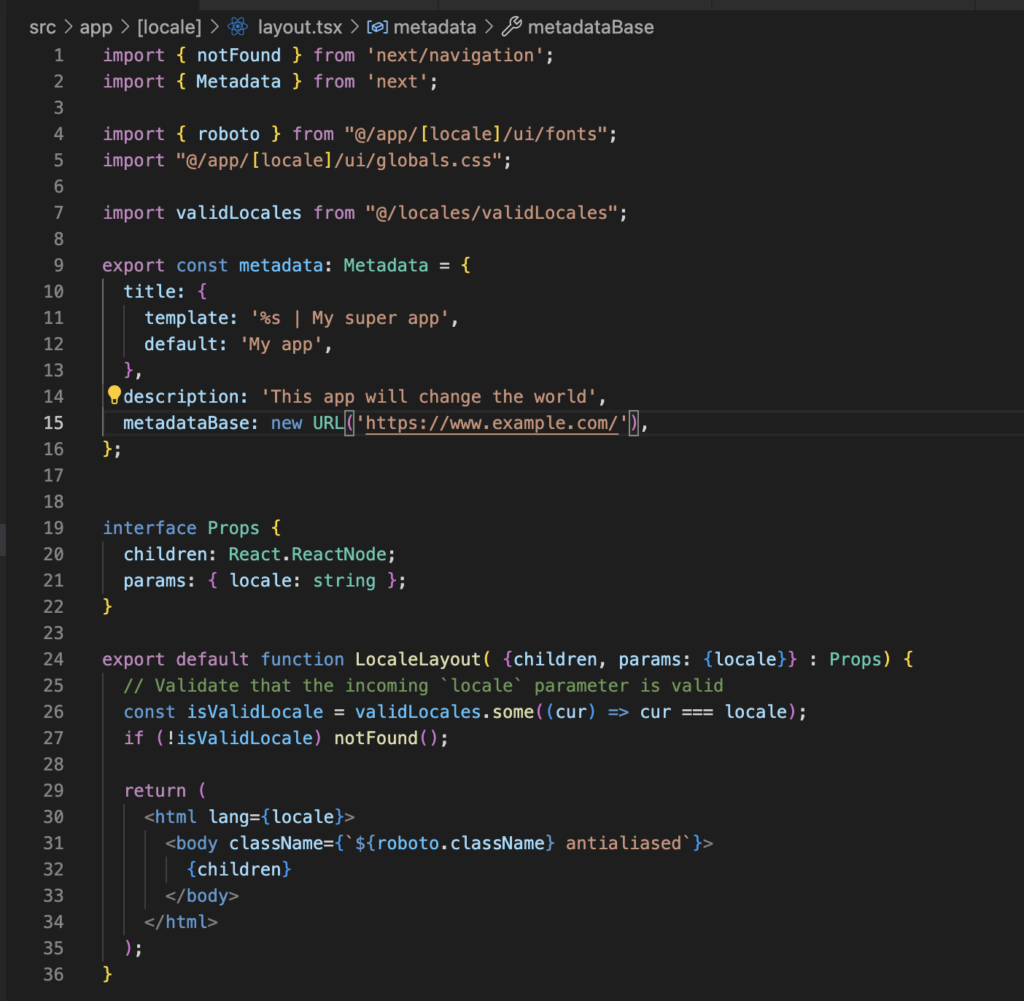
If you pay attention you’ll notice that we are passing a new prop to the Layout component that is the params.
That new prop should contain a field called locale where our middleware has placed the detected locale. But, chances are that someone tries to play around with cookies and to try to bypass our original setup. That’s the main reason why next-intl suggests to add this step of validation.
In our case we will use our validLocales array defined in our centralized file so we don’t need to hard code that array everywhere.
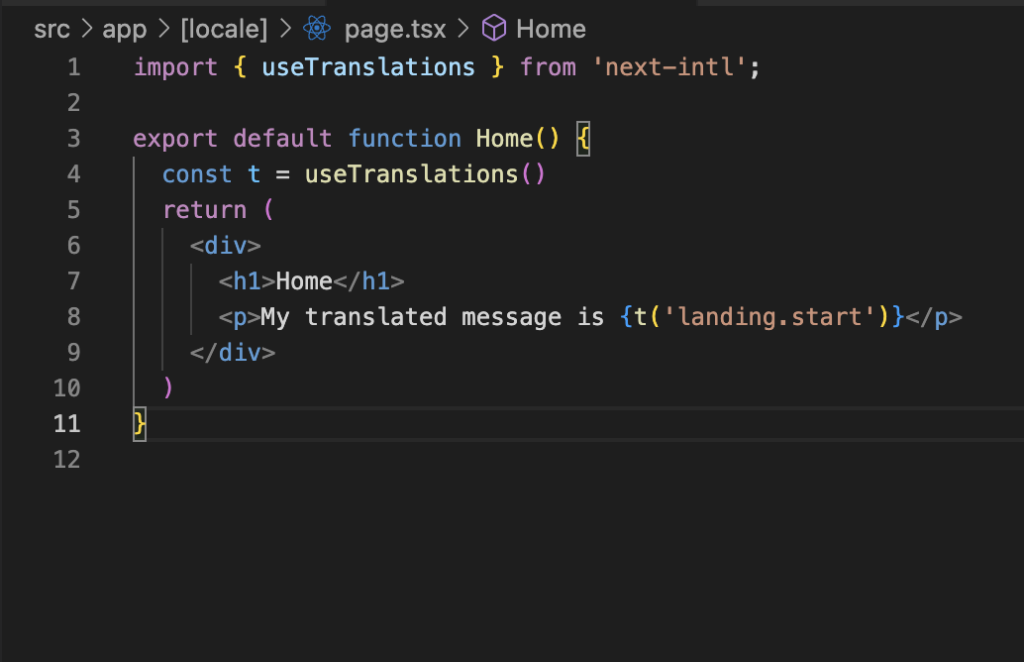
We can test if everything is working properly just defining a simple page.tsx at /app/[locale].
If I try to go to https://localhost:3000/ I will notice that it will append “es” to my URL and also set a new cookie called NEXT_LOCALE that will store my default language. In my case “es”
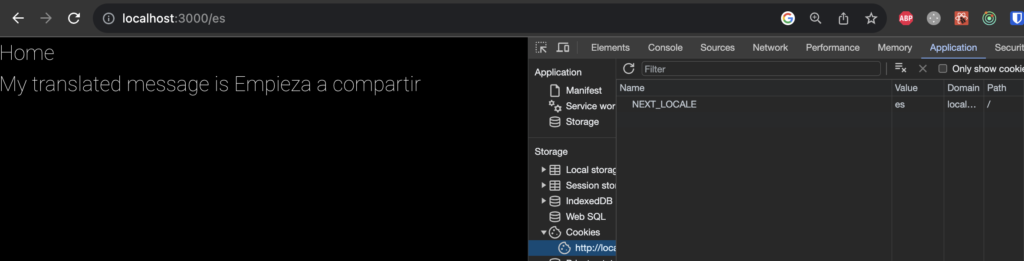
If after that I visit https://localhost:3000/en I will see this:

You’ll notice two different changes, the first is that it removes the “/en” from the URL, this happens because this is our default locale. On the other hand the NEXT_LOCALE cookie value changes and now stores “en” value.
Static rendering
Under the hood what’s happening here is that every page that uses this approach won’t be statically rendered and will be dynamically rendered.
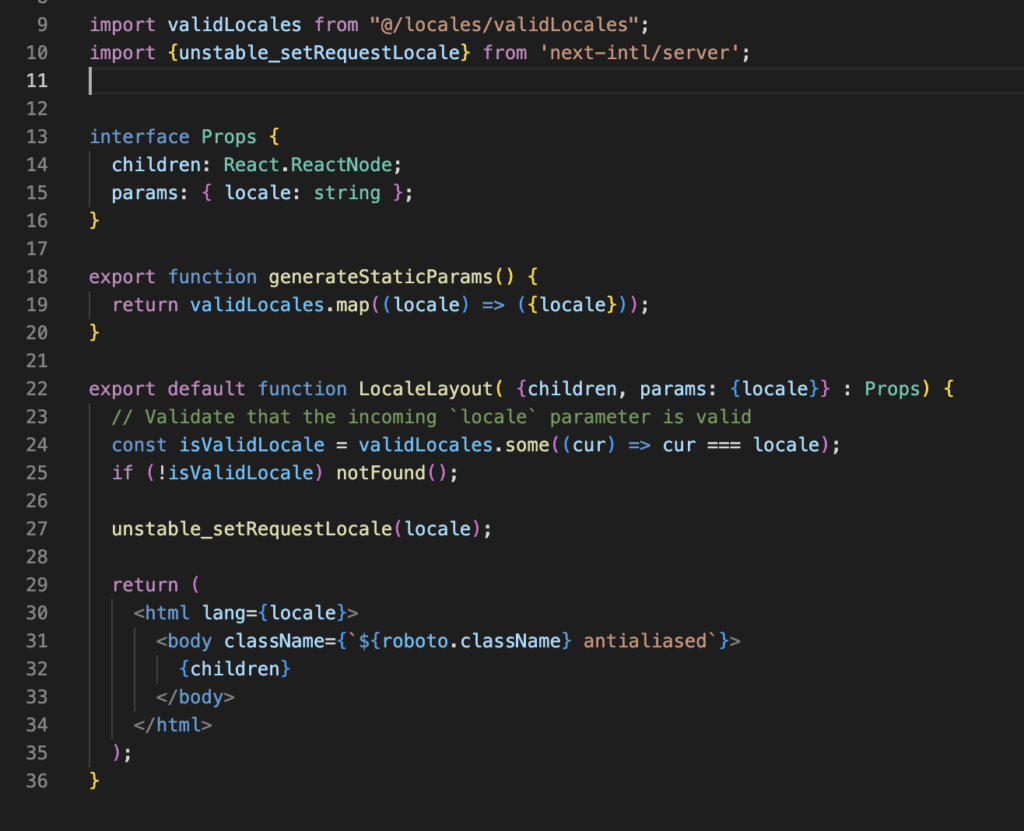
At this point the next-intl team provides a way to ensure that a page that only needs the translations stuff can be also statically rendered.
You need to use two elements, the classical generateStaticParams function as usual but also a new one provided by next-intl and called with the scary name unstable_setRequestLocale.
This function is in charge to distribute the locale params to all server components that will be rendered in each request.
And here comes the drawback of this approach. In next, if an user navigates between views that shares, for example, the same layout, the common layout won’t be rendered again so, you’ll need to add this unstable_setRequesLocale in each Layout or Page but the outcome is that you’ll maintain the static rendering approach as far as you want.
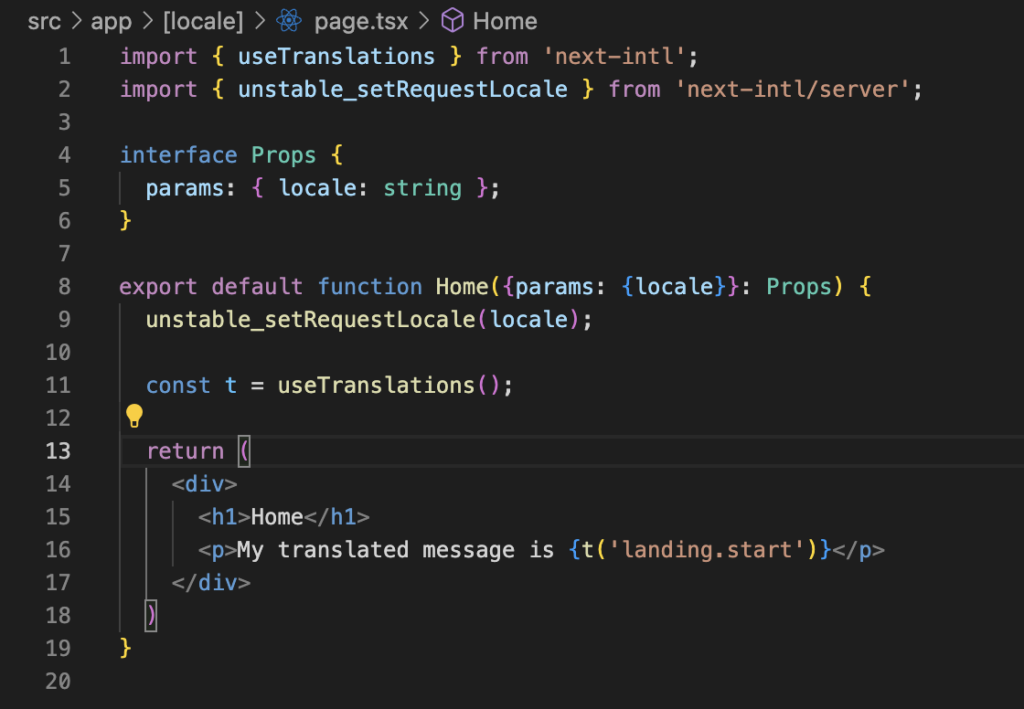
Your layout code should look like this.
And our home page.
And that’s all.
See you soon in the next post.
Disclaimer
One of my best friends and also my favourite technical reviewer pointed out that I shouldn’t use so much default exports and I believe that he is absolutely right.
Using named exports helps to maintain consistency and naming conventions so, I will improve it in the next post 😉